How to Do a Squat Safely as You Age: A Step-by-Step Guide
If you could only teach an older woman one strength exercise, you'd teach her the squat. Not because it's fashionable, but because it trains the exact movement pattern — standing up and sitting down. That determines whether a person stays independent or not. Research on grip strength and sit-to-stand ability consistently ranks both as powerful predictors of healthspan in later life.
The problem: the word "squat" terrifies women over 60. They picture barbells, powerlifters, blown-out knees. The reality is that a safe, effective squat starts with your back against a wall and builds from there. Hi, I'm Marischa, a NASM-certified coach with a Senior Fitness Specialist focus, and this is the exact progression I use with my clients.
Why the Squat Matters So Much
Squatting:
- Strengthens quads, glutes, hamstrings, and core all at once
- Maintains the ability to get up from chairs, toilets, and the floor
- Loads the hip and thigh bones in ways that support bone density (important for women with or at risk of osteoporosis, as Bone Health and Osteoporosis Foundation notes)
- Improves balance and coordination
- Burns meaningful calories because it's a whole-body movement
The National Institute on Aging specifically mentions squat-like movements as essential for older adults.
Before You Start
- See your GP if you have significant knee issues, a recent joint replacement, or cardiac concerns.
- Wear flat shoes — running shoes with lots of cushioning can actually be unstable for squatting. Trainers with flat, firm soles or being barefoot on a non-slip surface is better.
- Clear a space. Have a sturdy chair and a wall within reach.
- Read this whole progression before starting. Don't jump ahead.
Step 1: The Wall Squat Hold
Why start here: It teaches you the bottom position of a squat with almost no load on the knees and total stability from the wall. It builds quad strength passively.
How:
- Stand with your back against a wall, feet about 18 inches forward, shoulder-width apart.
- Slide down the wall until your knees are bent to about 30–45 degrees (not a full squat. Think shallow).
- Hold for 10 seconds.
- Slide back up.
- Repeat 5 times.
Form cues:
- Knees tracking over your second and third toes (not caving inward)
- Back flat against the wall
- Weight through your heels and midfoot
When to progress: When 5 × 20 seconds feels easy.
Step 2: The Chair Squat (Sit-to-Stand)
Why this stage matters: This is the functional squat, the one you do a hundred times a day in real life, transferred to a deliberate exercise.
How:
- Stand in front of a sturdy chair, feet hip-width apart, toes turned slightly out.
- Reach your arms straight in front of you for balance.
- Sit your hips back first (as if reaching for the chair), then bend your knees.
- Lightly tap the chair with your bottom. Don't collapse into it.
- Stand back up by pressing through your heels and squeezing your glutes.
Form cues:
- Initiate with hips going back, not knees going forward
- Chest up throughout
- Knees over toes (not past them, not inside them)
- Exhale on the way up
Reps: 3 sets of 10, twice a week.
When to progress: When you can do 3 × 12 without hand assistance and with smooth control.
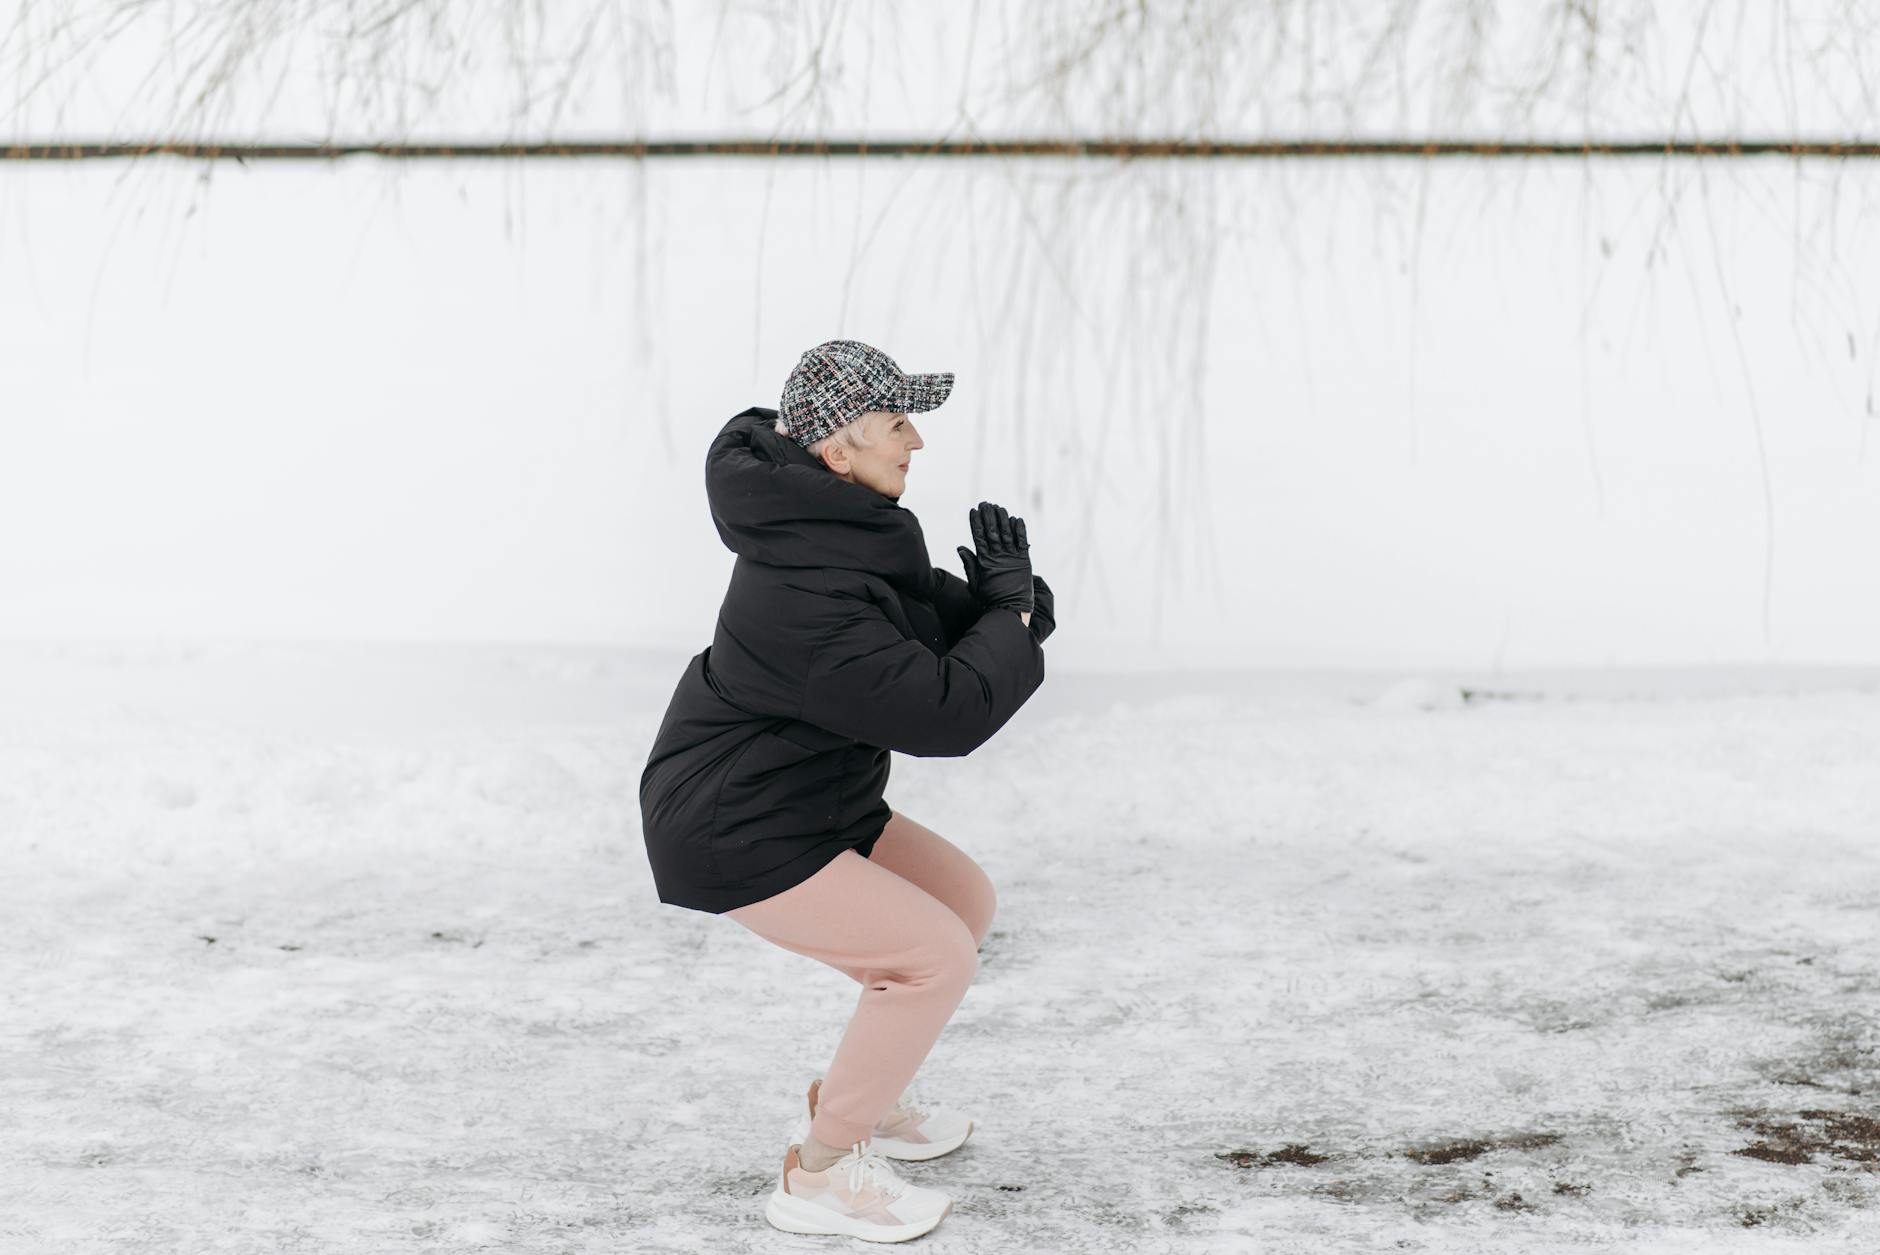
Step 3: The Bodyweight Squat (Standing, No Chair)
Why: Now you're doing the "real" squat — no wall, no chair. This is the movement most women can reach within 4–8 weeks of practising the earlier steps.
How:
- Stand with feet shoulder-width apart, toes slightly turned out.
- Arms out in front or hands on hips.
- Hinge at hips while bending knees; lower as far as your mobility comfortably allows (aim for thighs parallel to the floor over time. Don't force it).
- Push through your heels to stand up. Squeeze your glutes at the top.
Form cues:
- Same as chair squat: hips back first, chest up, knees tracking over toes.
- If your back rounds at the bottom, you've gone too deep for your current mobility.
Reps: 3 sets of 10.
If you get stuck: go back to chair squats for another 2 weeks. Progress isn't linear.
Step 4: The Weighted Squat
Why: Adding a little resistance is what transforms squats from "mobility" into "strength." This is where bone density benefits really start to land.
How:
- Hold a dumbbell (or a can in each hand, a kettlebell, or a backpack with some weight in it) at your chest.
- Perform the bodyweight squat with the same form.
- Start with 5–10 lb of weight. Add 2.5–5 lb every 2–3 weeks as it gets easier.
Reps: 3 sets of 8–12.
Cue: Form still matters most. If the weight makes your form wobble, go lighter.
Common Mistakes (and Fixes)
"My knees hurt when I squat."
Usually one of three things:
- Knees caving in: Focus on pushing your knees slightly out as you descend.
- Too deep too soon: Stay higher. A shallow squat with good form beats a deep squat with bad form.
- Quads weak: Build up with chair squats and wall squat holds before progressing.
Our separate piece on how to strengthen knees after 60 has complementary exercises that often fix squat-related knee pain.
"I lose balance at the bottom."
Extend your arms in front of you as counterbalance. It works. Or hold a counter lightly.
"My lower back rounds."
Sign you're going deeper than your hips can currently allow. Stay higher. Work on hip flexor mobility: see our morning stretching routine for a hip-opener.
"I feel it all in my quads, not my glutes."
Very common. Try pushing your hips back more at the start, as if closing a drawer with your bottom. And actively squeeze your glutes at the top of each rep.
Special Considerations
If you have osteoporosis
Squats are generally excellent for osteoporosis — they load the hips and spine in a spine-neutral way. Keep your back straight (don't round at the bottom) and start with body-weight or very light loads. See safe exercises for osteoporosis.
If you have bad knees
Start with wall squats and shallow chair squats. Don't skip phases. Strengthen progressively. Stop if sharp pain occurs (not muscle fatigue: sharp pain).
If you're very deconditioned
Do chair squats only for 2–3 weeks before progressing. Twice a week, 3 sets of 5–10 reps. Nothing heroic.
A Simple Squat Progression Plan
Weeks 1–2: Wall squat holds + chair squats. 2 sessions a week.
Weeks 3–4: Chair squats, aiming for 3 × 12 smoothly.
Weeks 5–6: Introduce bodyweight squats. Chair squats as warm-up.
Weeks 7–8: Bodyweight squats as main lift. 3 × 10.
Weeks 9–12: Weighted squats, starting light, adding gradually.
Pair with walking on non-squat days and you have a real foundation.
How Often?
Two or three sessions a week, never back-to-back days. The muscle needs 48 hours to recover.
My Opinionated Take
The squat is one of the most important movements a woman over 60 can learn. It's also one of the most rewarding, because progress is concrete: last month you needed hands to get up from a chair, this month you don't. That's real. And it compounds over years.
Start with step 1 today. Back against a wall, slide down an inch. Hold. Stand up. You've done your first squat.
For video demonstrations and a guided squat progression, our exercise guide walks you through each stage, or start a free account to save your progress. Sit-to-stand strength is one of the most valuable currencies of later life. Start earning it.